This episode we take on Dredge!
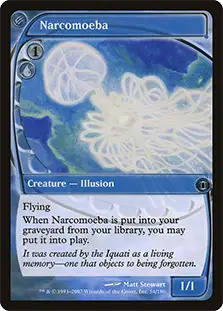
Dredge is a deck that abuses the Ravnica’s Golgari Guild mechanic: Dredge X (If you would draw a card, instead you may put exactly X cards from the top of your library into your graveyard. If you do, return this card from your graveyard to your hand. Otherwise, draw a card.) Dredge is a combo deck, that can play a “grindy” game in the right matchup or situation, but ultimately they are trying to the win game very quickly by abusing their graveyard. Their game plan is to get a card with dredge into the graveyard, so they can begin dredging every turn and filling up their graveyard. Once they do this they begin putting cards like Narcomoeba and Ichorid into play, so that they can be sacrificed to either Cabal Therapy or Dread Return to make a horde of zombies from Bridge from Below. I play against dredge every once in a while, both online and in paper, and it has been around for many years in two different variations, manaless and mana dredge, which I will get into more in the next section. I think dredge is a pretty good deck, so it is important that we know how to prepare for this matchup and what we can expect.
How does Dredge matchup against TES?
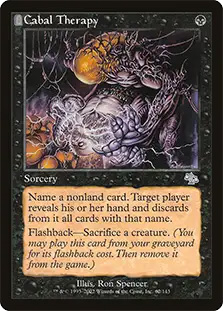
Cabal Therapy – This is their only form of disruption in their maindeck. Game 1 we really only have to worry about two things. Having our hand ripped apart by the flashback of numerous Cabal Therapy or them killing us first. We are a little faster than them, but if we have a slower hand, and they have an explosive one then we can just get outraced.
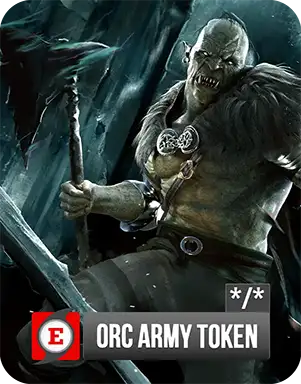
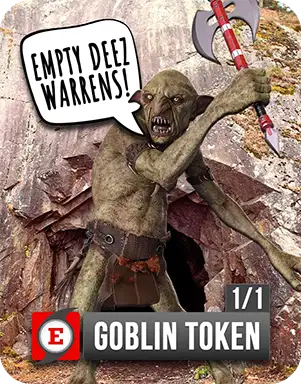
Bridge from Below – This card plays a couple roles in the matchup, it gives them enough bodies to flashback Cabal Therapy without setting them back too much, allows them to kill us very quickly by putting a ton of power into play, and makes 2/2’s, which is convenient since we have a card that makes 1/1’s.
Dread Return, Iona, Shield of Emeria – Most lists play at least one Dread Return in their 75 and often run an Iona, Shield of Emeria in the sideboard for combo decks, so if they get Iona, Shield of Emeria into play early (they will probably name black) we will need to either Grapeshot them or have a bounce spell ready. It is something to keep in mind when sideboarding and playing as their graveyard gets filled.
Manaless Dredge vs Mana DredgeLike I previously mentioned in the introduction, both decks follow the same overall concepts and principles. Their goal is to get a card with dredge in the graveyard, to replace all of their draw effects to fill up, and abuse their graveyard. The differences between the decks are how they approach trying to achieve this goal, and it may be fairly obvious because it’s in their name. One deck actually uses lands and cards like Faithless Looting, Breakthrough, Careful Study, and Putrid Imp to begin putting cards with dredge in their graveyard, and are referred to as “the enablers” because it’s what starts the whole snowball effect. Manaless dredge uses a whole different approach. They don’t play any of these cards and rely on getting to 8 cards in hand and discarding a dredger. Their plan is to always be on the draw and immediately get to 8 cards and discard.
Against both variants, our discard spells are great on the play, and terrible on the draw. On the play versus mana dredge they could have kept a hand with only one enabler and being able to take it will buy us several turns and reduce how explosive they are against manaless dredge a discard spell is a time walk effect. They are trying to get to 8 cards and every card that we put into the graveyard is one more turn that they don’t do anything, but just make sure the card you take doesn’t have dredge. If we are on the draw vs mana dredge our discard spells are just too slow. They’re going to be able to start filling up their graveyard on turn one and we don’t have a way to interact with that. Against manaless dredge, we will only be on the draw if we choose it because if the opponent wins the die roll they will choose to be on the draw since they can’t do anything turn one on the play. This a huge sign if you lose the die roll and your opponent says “I’ll take the draw” then you know exactly what they’re playing. And if you lose a game then the next game it’s crucial for you to take the draw. This gives you one more card for free since they have no turn one play with 7 cards.
Both versions of dredge also play discard of their own in the form of four copies of Cabal Therapy, but it is much more threatening coming from mana dredge because they are the faster variant, so they put on the pressure of killing us and ripping our hand apart earlier than that of manaless dredge. The goal of their discard is to take away any tutors or fast kill that we have. They are going to be trying to buy as much time as they can before they can put a lot more power into play or before they slowly get closer to the 2nd, and then the 3rd Cabal Therapy. That same theme applies to the type of hands that are keepable in these matchups. Against manaless dredge we don’t have to be as fast since we are always technically “on the play” and it takes them a little more time to get going since they don’t have as explosive of cards, but against mana dredge we don’t have time to be casting several cantrips and not doing much. We have to combo off fairly quickly.
Moving forward I will focus more in depth on mana dredge because it is by far the more commonly played deck.
Deck List
Main Deck
Ways to win this matchup

Killing Them and Our Game Plan This is a matchup that is all about speed. The disruption very good on the play and pretty bad on the draw, but can slow the opponent down just enough. If they keep a hand with only one way to get card in the graveyard and we take it then it could buy us several turns to try and combo off. If we are on the draw then our discard won’t matter as much because more than likely they will have already begun putting things in their graveyard. Because this is a race keeping a hand with several cantrips will not be sufficient here. We are looking for a very fast combo hand (preferably with Ad Nauseam and not with Empty the Warrens). If we have disruption then that’s just a bonus, but not required.
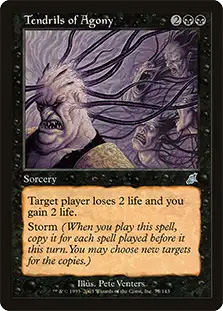
So, our game plan is to be as fast as possible. We really need to kill them between turns 1-3. The longer we wait the more we open ourselves up to them killing us first or them flashbacking muliple copies of Cabal Therapy. We generally want to kill with Tendrils of Agony over Empty the Warrens because they can make lots of 2/2’s to prevent us from winning this way. Empty the Warrens also takes multiple turns to win the game and we want to minimize the amount of turns the opponent has.
Sideboarding
-1 Empty the Warrens, +1 Cabal Therapy
Like I previously mentioned, Empty the Warrens is not very good in this matchup for several reasons, so this cut is obvious. I bring in Cabal Therapy because it is another card that can slow them down. I think on the draw you could sideboard a little differently because both of these cards are horrible on the draw. The opponent is going to play their enabler on turn 1 before we have the ability to make them discard it, so I may leave Empty the Warrens in on the draw in case there’s a scenario where it’s good.
Game Play
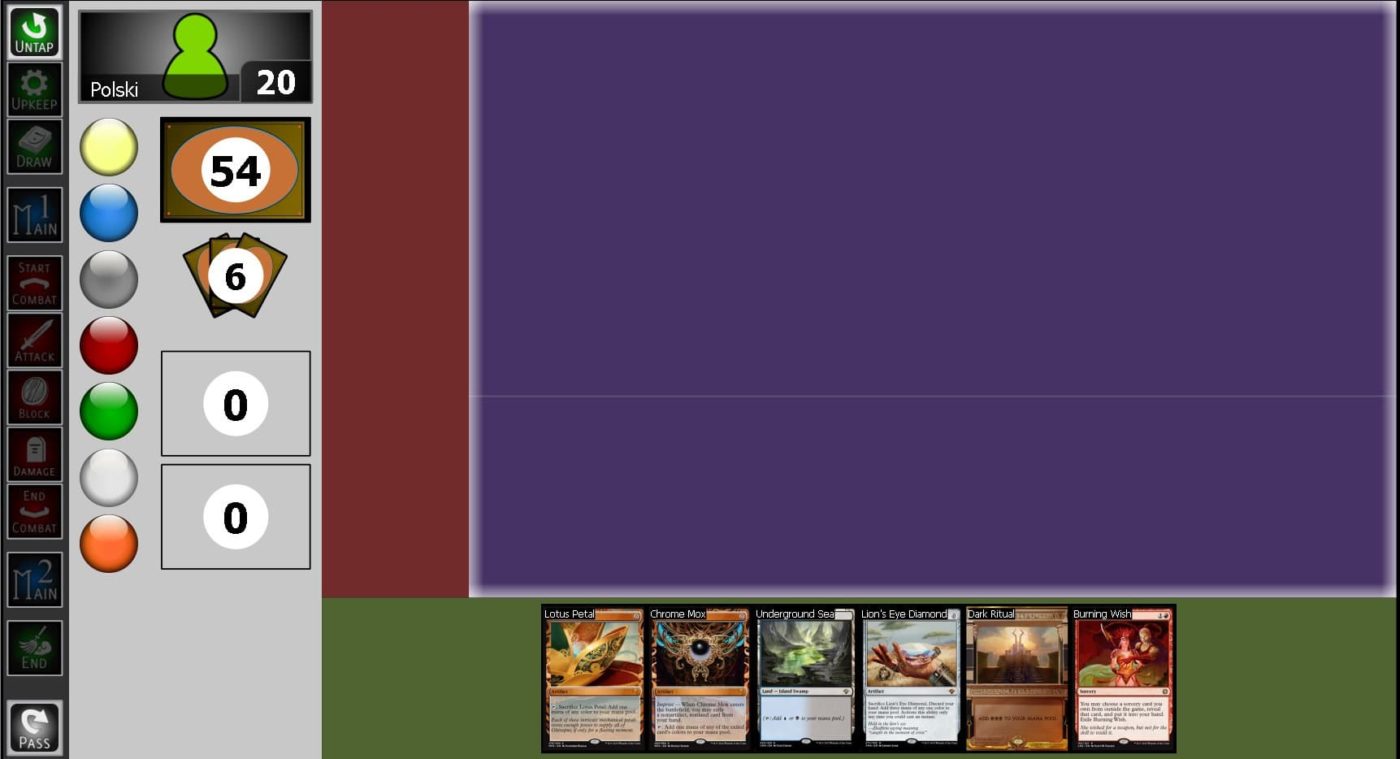
To begin game 1 I win the die roll, which is huge since this matchup is all about speed and trying to race before they kill us or use their hand disruption. I have to mulligan down to 6 and this is my hand:

As much as I bashed Empty the Warrens in this matchup this is one scenario where it may be good. Making 12 goblins on turn 1 on the play will beat most of their draws. They have to have a very explosive draw and dredge well in order to survive it. They fill their graveyard on turn 1 then go to 8, and will have to make enough zombies to survive the following turn. The other option is waiting to get some more mana for an Ad Nauseam line which I don’t think is fast enough. We have to draw well and could be bad if they have Cabal Therapy.
I ended up making 12 goblins and it was good enough.
1-0
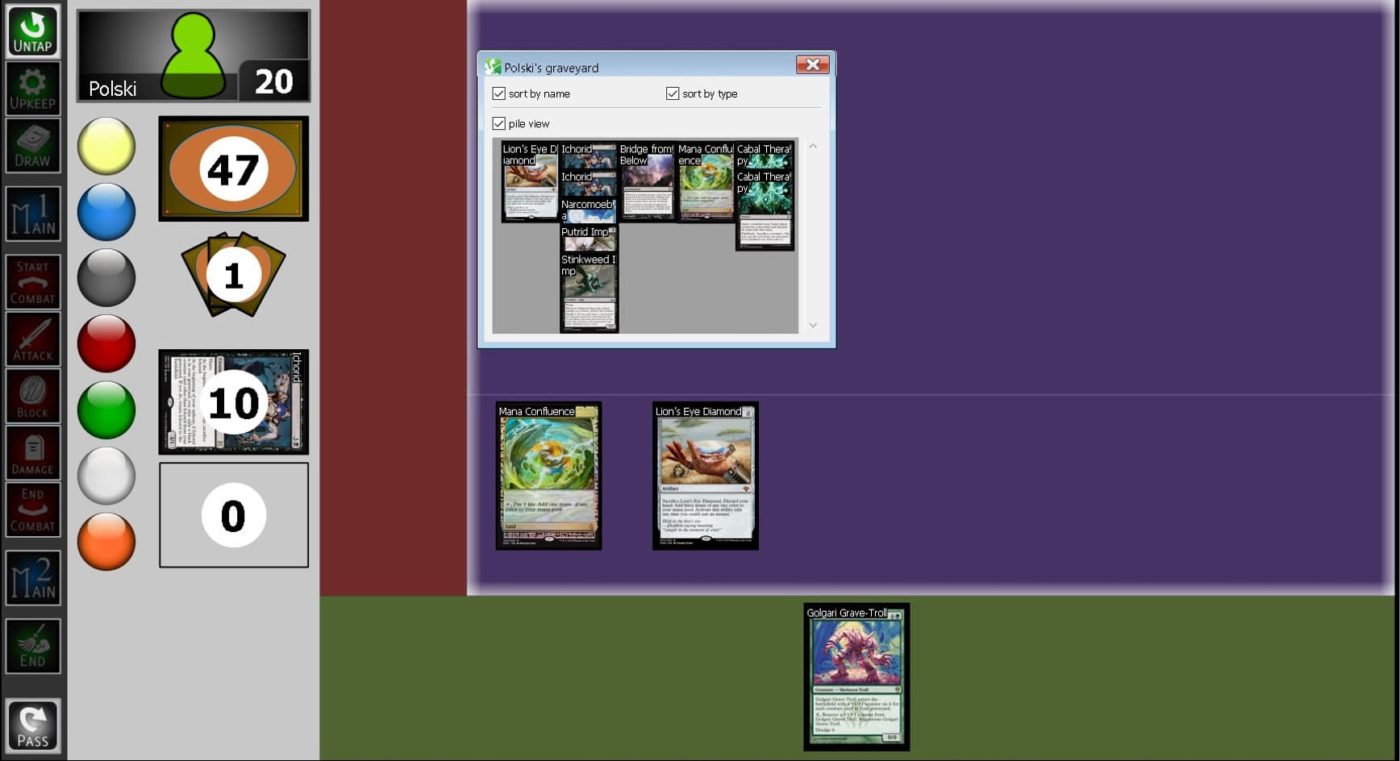
Onto game 2 and I take a mullgan again, because I am really lucky, and the opponent keeps 7 and leads off with 2 Lion’s Eye Diamond (sacrificing one), as his graveyard enablers, and a land. On his second turn he begins by dredging Golgari Grave-Troll to fill up his graveyard.

He passes back to me and I take my second turn and this is my board state:

This hand has a couple different directions to go:
- Empty the Warrens for lots of goblins and hope they can’t make enough zombies to survive.
- Try to cantrip into an Lion’s Eye Diamond so we can Dark Petition into Ad Nauseam.
- Play our cantrips to setup a kill for the following turn and hope that they brick on their first Cabal Therapy and then only get to take one card from the second Cabal Therapy.
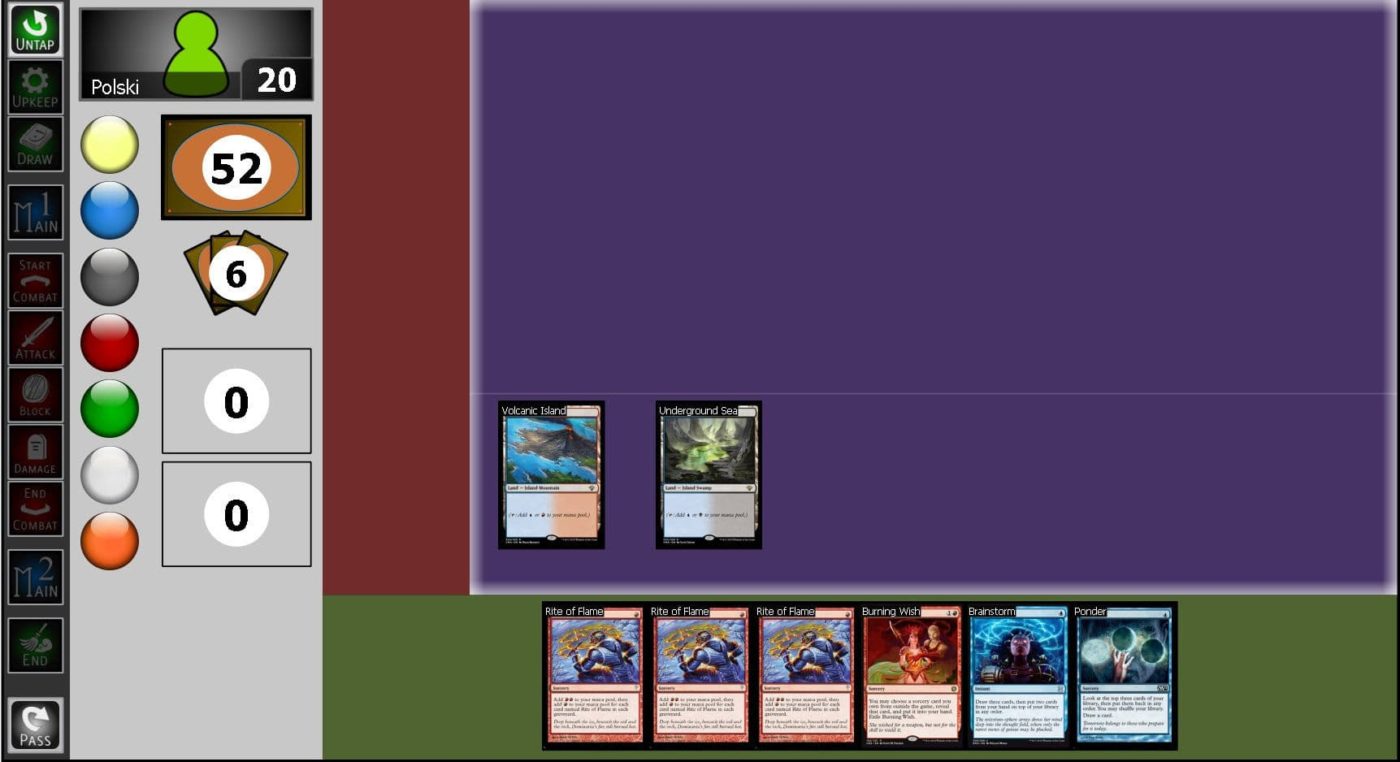
I feel like we definitely have to go for it this turn because on their turn they will be able to get back two Ichorid and flashback both copies of Cabal Therapy. Luckily for us we can go for option two and then if we brick go to plan one. I would start off with Ponder off of Underground Sea to look for a Lion’s Eye Diamond. If I brick on finding a Lion’s Eye Diamond then I would just go off and make as many goblins as I can. This is the line I took after I whiffed off my Ponder, and the opponent failed to find another Bridge from Below to make enough zombies to survive.
2-0
The TES community is one I love for many reasons, but my favorite reason is because we can talk through plays and lines and it’s interesting to hear how other people play the deck and approach situations. What would you have done in this last scenario? Were there other lines that I didn’t mention that you think are better or should be considered? Until next time, keep analyzing your matchups and putting in the work and your results will show.
Main Deck
This is a matchup that is all about speed. The disruption very good on the play and pretty bad on the draw, but can slow the opponent down just enough. If they keep a hand with only one way to get card in the graveyard and we take it then it could buy us several turns to try and combo off. If we are on the draw then our discard won’t matter as much because more than likely they will have already begun putting things in their graveyard. Because this is a race keeping a hand with several cantrips will not be sufficient here. We are looking for a very fast combo hand (preferably with Ad Nauseam and not with Empty the Warrens). If we have disruption then that’s just a bonus, but not required.
So, our game plan is to be as fast as possible. We really need to kill them between turns 1-3. The longer we wait the more we open ourselves up to them killing us first or them flashbacking muliple copies of Cabal Therapy. We generally want to kill with Tendrils of Agony over Empty the Warrens because they can make lots of 2/2’s to prevent us from winning this way. Empty the Warrens also takes multiple turns to win the game and we want to minimize the amount of turns the opponent has.
Sideboarding
-1 Empty the Warrens, +1 Cabal Therapy
Like I previously mentioned, Empty the Warrens is not very good in this matchup for several reasons, so this cut is obvious. I bring in Cabal Therapy because it is another card that can slow them down. I think on the draw you could sideboard a little differently because both of these cards are horrible on the draw. The opponent is going to play their enabler on turn 1 before we have the ability to make them discard it, so I may leave Empty the Warrens in on the draw in case there’s a scenario where it’s good.
Game Play
To begin game 1 I win the die roll, which is huge since this matchup is all about speed and trying to race before they kill us or use their hand disruption. I have to mulligan down to 6 and this is my hand:
As much as I bashed Empty the Warrens in this matchup this is one scenario where it may be good. Making 12 goblins on turn 1 on the play will beat most of their draws. They have to have a very explosive draw and dredge well in order to survive it. They fill their graveyard on turn 1 then go to 8, and will have to make enough zombies to survive the following turn. The other option is waiting to get some more mana for an Ad Nauseam line which I don’t think is fast enough. We have to draw well and could be bad if they have Cabal Therapy.
I ended up making 12 goblins and it was good enough.
1-0
Onto game 2 and I take a mullgan again, because I am really lucky, and the opponent keeps 7 and leads off with 2 Lion’s Eye Diamond (sacrificing one), as his graveyard enablers, and a land. On his second turn he begins by dredging Golgari Grave-Troll to fill up his graveyard.
He passes back to me and I take my second turn and this is my board state:
This hand has a couple different directions to go:
- Empty the Warrens for lots of goblins and hope they can’t make enough zombies to survive.
- Try to cantrip into an Lion’s Eye Diamond so we can Dark Petition into Ad Nauseam.
- Play our cantrips to setup a kill for the following turn and hope that they brick on their first Cabal Therapy and then only get to take one card from the second Cabal Therapy.
I feel like we definitely have to go for it this turn because on their turn they will be able to get back two Ichorid and flashback both copies of Cabal Therapy. Luckily for us we can go for option two and then if we brick go to plan one. I would start off with Ponder off of Underground Sea to look for a Lion’s Eye Diamond. If I brick on finding a Lion’s Eye Diamond then I would just go off and make as many goblins as I can. This is the line I took after I whiffed off my Ponder, and the opponent failed to find another Bridge from Below to make enough zombies to survive.
2-0
The TES community is one I love for many reasons, but my favorite reason is because we can talk through plays and lines and it’s interesting to hear how other people play the deck and approach situations. What would you have done in this last scenario? Were there other lines that I didn’t mention that you think are better or should be considered? Until next time, keep analyzing your matchups and putting in the work and your results will show.