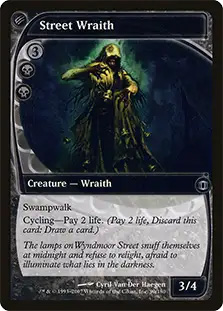
Death’s Shadow the card has existed for a long time, but never really saw much play until the past couple of years. It’s really been a staple of the Modern format over the past 2-3 years, but recently it’s been picking up in legacy. Because it’s a fairly newer deck in legacy there isn’t an established deck or even which colors to play in the deck. Overall the deck is designed to do as much damage to yourself, so you can play an early Death’s Shadow to put on a quick clock. In order to do this the deck has to play some strange cards for Legacy like shock lands and Street Wraith. Outside of those cards it plays out similarly to Delver of Secrets style decks, trying to put on a fast clock while being disruptive and playing a tempo game plan. They try to attack the opponent on all angles in the early turns by doing lots of damage, hand disruption, counterspells, and land destruction. It’s not an extremely popular deck, but some of the pros have started picking it up recently and I occasionally run into it on magic online or in a tournament. There isn’t even a stock list or a consensus on which supporting colors to play, Grixis or Sultai. If the deck continues to get worked on and more popular then the chances of us playing against this deck goes up, and we need to know what we are up against, and what our strategy is to beat it.
How does Death’s Shadow matchup against TES?
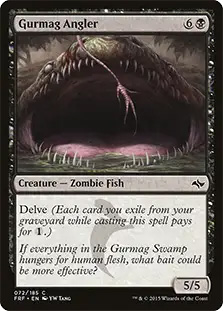
Death’s Shadow, Gurmag Angler – This deck can put a lot of power and toughness into play early in the game, providing a quick clock. We often consider cards like Delver of Secrets or Young Pyromancer to be fast, but if a Gurmag Angler or Death’s Shadow comes down in the first or second turn of the game then that is much faster. They can easily do 20 damage in 4 attacks from them, so our window of how quickly we have to combo off is a lot shorter compared to traditional Delver of Secrets decks.
Force of Will, Daze – They don’t have a wide variety of counterspells or even a ton of counters, but the fact that they are free is something to note. Even when the opponent is tapped out they still have access to 8 counters, which is a lot. Daze and Force of Will are cards we should be pretty familiar with playing against in legacy. If we know they have these in hand, from a discard spell or a Gitaxian Probe, they become a lot less good as we can play around Daze or know that we need another discard spell or need a bait spell for their Force of Will.
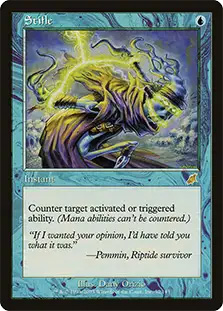
Wasteland, Stifle – This suite of disruption together hasn’t been too popular the last couple years, but for those of us that have been playing a while this isn’t new. RUG Delver back in the day was notorious for playing 4 of each of these cards. Beating these cards is less about what cards we draw, but rather our skill in how we play them. Questions like “do I fetch to play around Stifle, but then they can Wasteland my duel” etc. are very tricky to navigate. This is another situation where information is key and where we really value our Gitaxian Probe, so we know how to exactly to sequence our lands, and when to fetch. There aren’t any hard rules for this, but whenever they are tapped out if you can fetch for a basic land then you should, because it plays around both of these cards. Also, note there are some hands where you can’t play around everything because of very few lands or color requirements, so knowing when you can afford to is a skill all in its own. Stifle plays two major roles against us, countering our fetch lands, but also countering the storm trigger on our win conditions. Just because you play around Stifle with our lands doesn’t mean we can ignore that card. We still need to answer it before we put a storm trigger on the stack.
Marsh Casualties – In the sideboard Death’s Shadow usually plays a couple copies of Marsh Casualties to help with True-Name Nemesis or other 1 toughness creatures. For us this means our Empty the Warrens gets a lot worse post board because of the potential of these type of cards being brought in. If we win or lose game 1 without revealing Empty the Warrens there is a possibility they may not even bring it in, but I would always play like they do.
Deck List
Main Deck
Ways to win this matchup
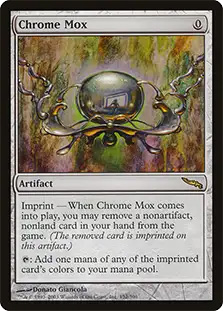
Killing Them and Our Game Plan This matchup often plays out similarly to a lot of other Delver of Secrets style decks of the present and the past, but more to the extreme. Their mana curve is lower, their clock is faster, and their interaction is cheaper. Because of the opponent’s game plan the key turns of the matchup are 1-2. What we do and how we navigate those crucial turns will determine if we get blown out and crushed or if we have a chance. It is also equally important for the opponent because they are obligated to present a clock or we don’t have to hurry to try and combo off. Their deck is called Death’s Shadow for a reason, and it’s to best utilize that card, which means doing lots of damage to themselves. We can exploit this by needing a lot less storm to be able to win the game. Often times 10 goblins can kill them in 1 attack or only needing 5 storm to make a Tendrils of Agony lethal. Our main goal is to navigate the first few turns of getting our mana established and setting up the point where we can even play magic. This includes fetching when they are tapped out to avoid Stifle, fetching basics to avoid Wasteland, and trying to play our artifact mana to help beat soft permission. Chrome Mox is very good in this matchup as it often doesn’t get countered and is a permanent mana source that plays around Wasteland. After we navigate through those turns our discard will become crucial because they have a lot of counters that we need to take, as mentioned above. Game 1 Empty the Warrens tends to be my go to because they don’t have any wraths, it requires less mana, and the number of goblins we need here is lower than most other matchups, because of the amount of damage that they do to themselves, and lack of blockers.
Sideboarding
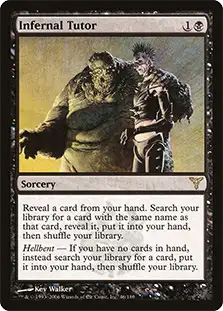
-1 Burning Wish, -1 Infernal Tutor, -1 Ponder,
+2 Empty the Warrens, +1 Chrome Mox
Empty the Warrens is very good in this matchup because of their lack of sweepers, and them not having enough creatures to block effectively. Also, because they are trying to do damage to themselves a horde of goblins can often win with just 1 attack. Empty the Warrens is a cheaper way to win than through tutors or Ad Nauseam to help us play around soft permission and gives us more copies to naturally draw. The additional copy of Chrome Mox plays a duel rule here, being able to help us cast the extra copies of Empty the Warrens from our hand on the first turn of the game, but also by giving us more mana sources since they have a good amount of mana disruption. Boarding out tutors goes with bringing in extra copies of Empty the Warrens. You just don’t want a clunky hand or too many expensive cards and win conditions.
Game Play
Onto an example game!
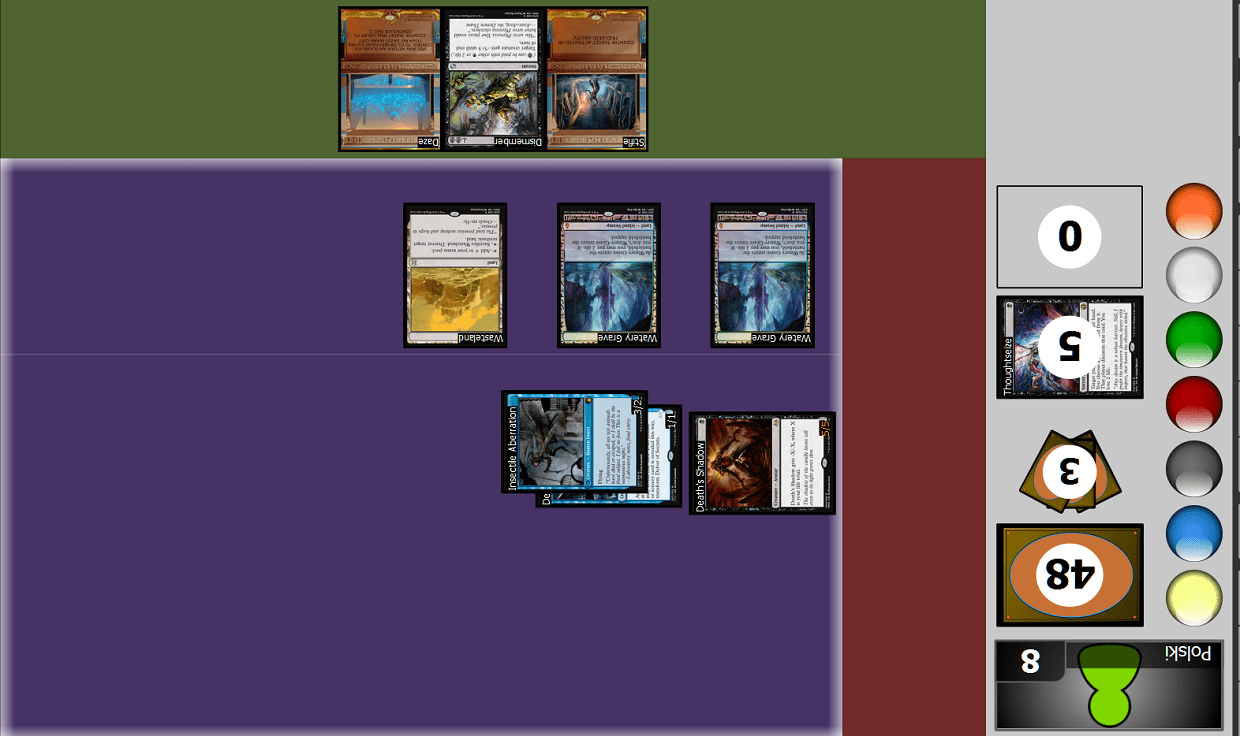
We are a couple turns into the game on the draw, and I think we both kept our opening hands. We both exchanged some discard spells and copies of Gitaxian Probe, so all information is known here by both players, except the card we just drew for our turn. Between all of this disruption, the opponent has managed to stick some creatures to pressure our life total. Here is the board state:


There is a lot to see here, so let’s make sure we notice everything here. Both players are below on life, which is good and bad for both players honestly because it means his Death’s Shadow is large, we can’t use Ad Nauseam, but at least we need less storm to be able to win here. That’s analyzing the board, but now we have to worry about theirs because they have access to two disruption spells. The good news here is that we have access to a discard spell. We are very limited here to our options, because of our low life total and facing down a clock, so this is the turn we have to make a move. Both players are walking a tightrope here with such low life totals and the game will probably be decided within a turn or two, so how we progress during this turn will determine the outcome. Analyze this board state and try to think about how you’d play out this turn/game. I think there are a couple options here, but this is what I did:
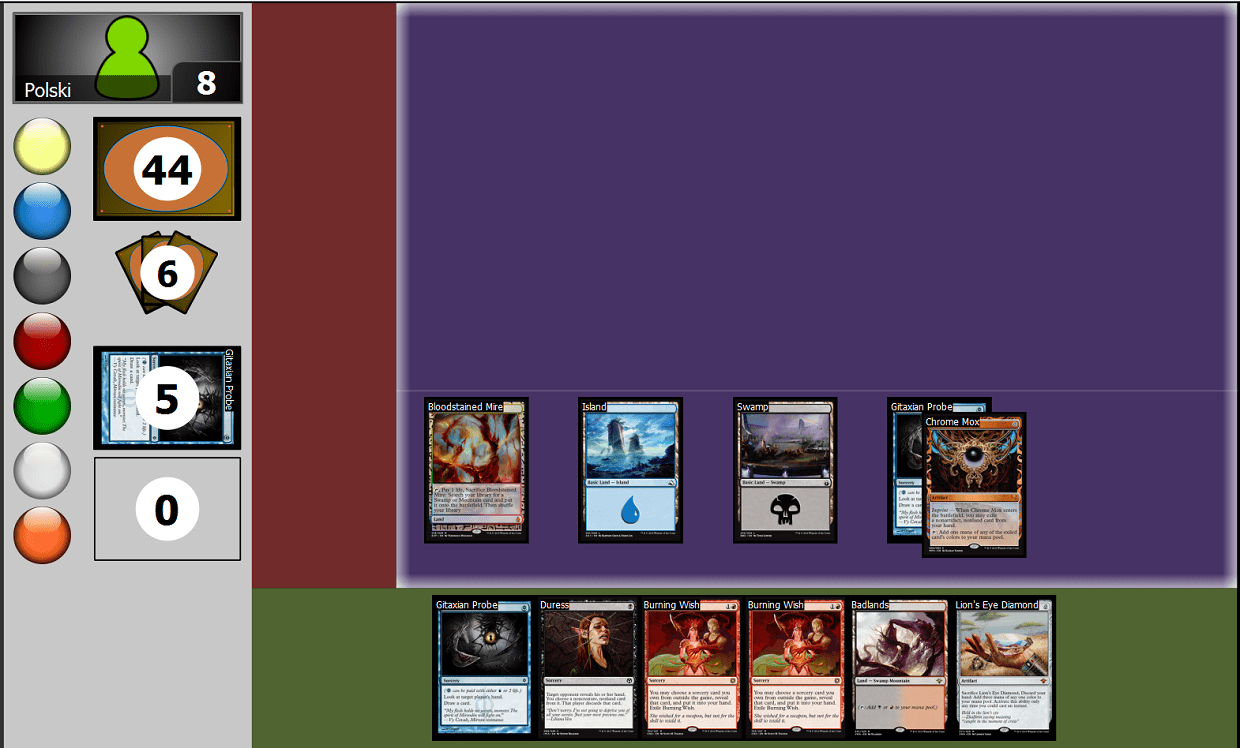
I started off with a Gitaxian Probe off the Chrome Mox. Paying life here is fairly risky since it puts us down to a 2 turn clock from a Delver of Secrets. I also wanted 1 extra storm, and the card I draw could be an additional storm count. Luckily I drew a Lotus Petal, which is perfect because it allows me to play around Daze better, but also gives me an additional storm. Using my Swamp I cast Duress to take their Stifle to be able to combo off, and I can just try to play around Daze. I play my land and both artifact mana to Burning Wish for Empty the Warrens, giving me 12 goblins. On my end step my opponent paid 3 mana to Dismember one of the tokens, but ultimately lost when the top of his deck wasn’t good enough.
I think this example gives a good overall view of how this matchup plays out. Both players are going to be at low life totals, the opponent will have a fast clock, both players will be trading disruptive spells and the game will be about trying to navigate that tightrope. This example demonstrates all of that, and how I would navigate it. There are other matchups that have similar angles of attack, but the twist of the opponent damaging themselves, and giving them a faster clock than most other decks makes it quite a challenge for both players.
Let me know what you would have done here, and maybe there’s even a line I’m missing that’s better. I hope we can have a discussion on the last scenario and as always I learn from the community just as much as the readers, but until the next one let’s keep the conversation going.
-1 Burning Wish, -1 Infernal Tutor, -1 Ponder,
+2 Empty the Warrens, +1 Chrome Mox