Moon Stompy is named after playing [[Magus of the Moon]] and [[Blood Moon]] with aggressive creatures like [[Legion Warboss]] and [[Goblin Rabblemaster]]. In addition to turning off the opponent’s lands, Moon Stompy also uses [[Chalice of the Void]] and [[Trinisphere]] to prevent the opponent from casting spells. Their deck making it difficult for the opponent to cast spells while winning the game quickly with fast creatures is a great formula for Legacy.
How does Moon Stompy matchup against TES?
[[Blood Moon]], [[Magus of the Moon]] – Most decks in Legacy are playing dual lands, fetchlands, and lands with abilities. Moon Stompy tries to exploit this by playing [[Blood Moon]] and [[Magus of the Moon]] to prevent the opponent from casting spells. Against TES this can be hit or miss. We only have a basic [[Swamp]], so sometimes it can turn off our lands, but we also have 14 sources of artifact mana. We also have many red spells. Therefore, we can still cast them under a [[Blood Moon]].
[[Chalice of the Void]], [[Trinisphere]] – To go along with preventing the opponent from casting spells, Moon Stompy plays [[Chalice of the Void]] and [[Trinisphere]] to make it more difficult for the opponent to play their game plan. Both cards are good against TES because we play lots of zero and one mana cost spells, and it is impossible to combo through a [[Trinisphere]] in play.
[[Legion Warboss]], [[Goblin Rabblemaster]] – The lock pieces from Moon Stompy will only stop a deck for so long, eventually the opponent will be able to cast their spells. [[Legion Warboss]] and [[Goblin Rabblemaster]] try to end the game before that happens. These creatures deal a lot of damage quickly, so not only does the opponent have to worry about casting spells, but also losing the game in a few short turns. This is great against all combo decks because a Storm opponent usually can’t answer the disruption cards and win the game before a [[Legion Warboss]] or [[Goblin Rabblemaster]] does.
Deck List
the epic Storm
Main Deck
- 4 [[Burning Wish]]
- 4 [[Wishclaw Talisman]]
- 4 [[Brainstorm]]
- 4 [[Ponder]]
- 1 [[Galvanic Relay]]
- 1 [[Tendrils of Agony]]
- 1 [[Ad Nauseam]]
- 1 [[Echo of Eons]]
- 4 [[Veil of Summer]]
- 1 [[Defense Grid]]
- 4 [[Rite of Flame]]
- 4 [[Dark Ritual]]
- 4 [[Lion’s Eye Diamond]]
- 4 [[Lotus Petal]]
- 3 [[Chrome Mox]]
- 3 [[Mox Opal]]
- 3 [[Verdant Catacombs]]
- 2 [[Bloodstained Mire]]
- 2 [[Polluted Delta]]
- 1 [[Tropical Island]]
- 1 [[Badlands]]
- 1 [[Underground Sea]]
- 1 [[Volcanic Island]]
- 1 [[Taiga]]
- 1 [[Swamp]]
Sideboard
- 4 [[Carpet of Flowers]]
- 3 [[Galvanic Relay]]
- 2 [[Abrupt Decay]]
- 2 [[Chain of Vapor]]
- 1 [[Empty the Warrens]]
- 1 [[Tendrils of Agony]]
- 1 [[Echo of Eons]]
- 1 [[Peer into the Abyss]]
Ways to Win This Matchup
Our Game Plan This matchup is all about speed. Our primary goal is to try and combo before we get locked out of playing our cards. If Moon Stompy is on the play or gets to play a lock piece before we can combo off, we need try and combo through it or have an immediate answer to it. If not, it will just compound. Every turn the opponent can play a different type of disruptive permanent, and then a creature win the game quickly. The biggest decisions of this matchup is knowing what hands to keep and what hands to mulligan. If it doesn’t have the potential to combo in the first or the second turn it’s a mulligan. We have to keep hands that can combo on the first two turns or an [[Abrupt Decay]] or [[Chain of Vapor]] to handle a disruptive permanent. The opponent is going to be looking to beat us with that same mindset. This makes those turns the key turns of the matchup, and we want to focus on what the opening hand does at the beginning of the game.
Sideboarding
-3 [[Veil of Summer]], -1 [[Defense Grid]] +2 [[Abrupt Decay]], +2 [[Chain of Vapor]]
Moon Stompy tries to disrupt us on the board, and not on the stack. This makes [[Veil of Summer]] and [[Defense Grid]] not that great. [[Veil of Summer]] can help us resolve cards through a [[Chalice of the Void]]. It’s not that reliable, but it’s why I keep one copy in. [[Chain of Vapor]] and [[Abrupt Decay]] are easy inclusions because they answer most of the problematic permanents.
Game Play
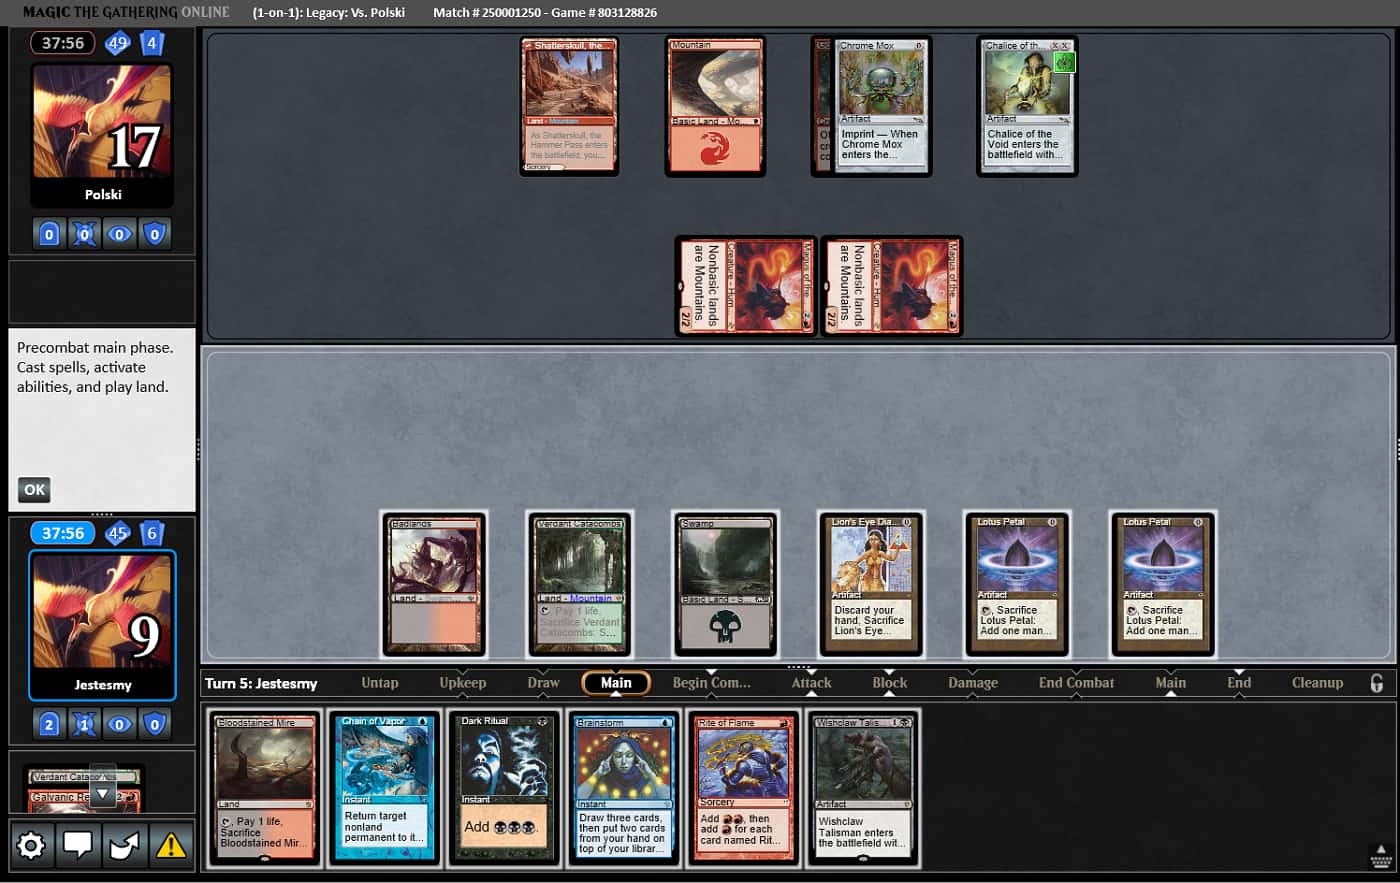
To kick off the first game, I was on the play and I kept my opening seven cards, but my opponent mulliganed down to six cards. I had lands, a [[Lotus Petal]], [[Brainstorm]], [[Wishclaw Talisman]], and an [[Ad Nauseam]]. I would just need this [[Brainstorm]] to find some rituals and I could have a quick combo. I spent my first turn just playing a land, and my opponent played a [[Fable of the Mirror-Breaker]]. On my second turn, I led off with the [[Brainstorm]].

I decided to put back one [[Wishclaw Talisman]] and a land, and then I just played a [[Verdant Catacombs]] so I could shuffle my library. Additionally, in case my opponent played a [[Blood Moon]], I could get the [[Swamp]]. My opponent did exactly that and played a [[Blood Moon]], so I fetched for the [[Swamp]].

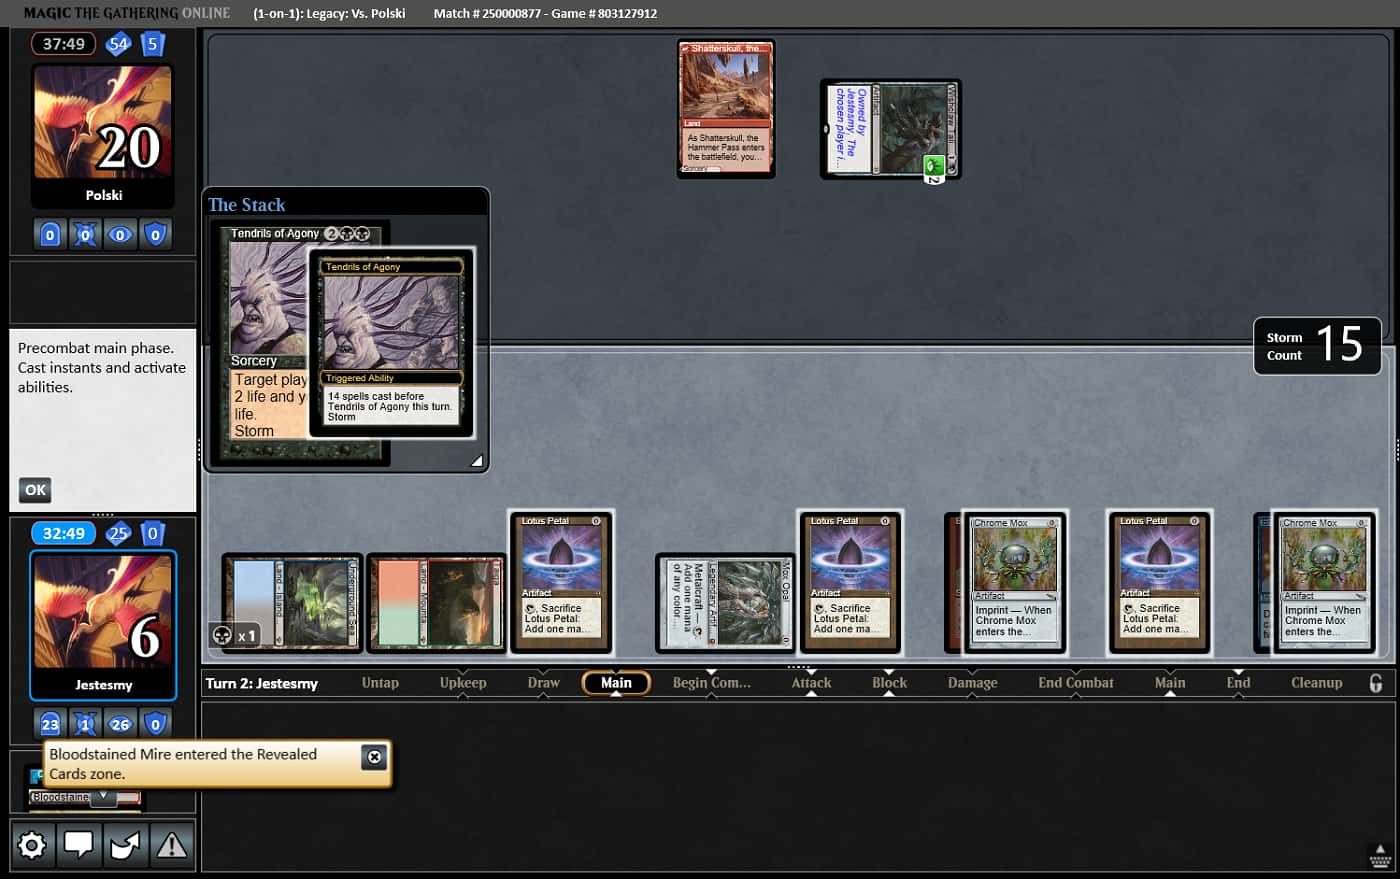
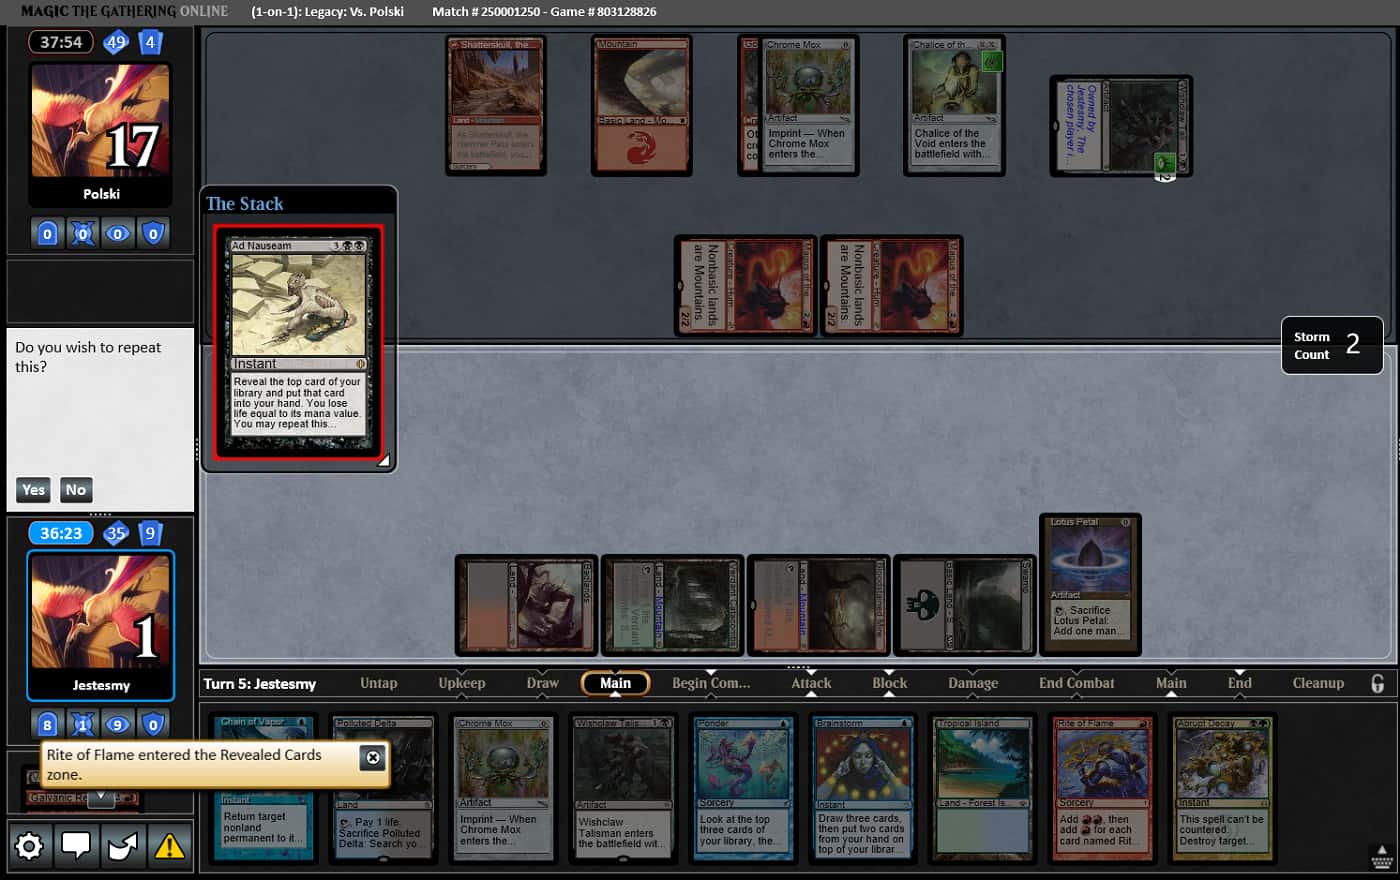
On my turn, I drew a [[Burning Wish]] and could cast the [[Ad Nauseam]] off three lands, two copies of [[Lotus Petal]] and a [[Rite of Flame]] with one mana floating. With 17 life, it was easy to [[Tendrils of Agony]] for the win.

1-0I sideboarded like I recommended and I mulliganed to six cards, and my opponent to five cards. I kept a hand with double [[Lion’s Eye Diamond]], two lands, [[Abrupt Decay]], and [[Wishclaw Talisman]]. They played a [[Chalice of the Void]] on zero for their first turn, and I immediately drew an answer in [[Chain of Vapor]] for my first turn. My plan was to just play a land and at the end of my opponent’s turn [[Chain of Vapor]] on the [[Chalice of the Void]] to combo on my second turn.

My opponent didn’t do anything on their second turn, and I was able to [[Chain of Vapor]] on their [[Chalice of the Void]]. From there, it was to win with both copies of [[Lion’s Eye Diamond]] and the [[Wishclaw Talisman]] for [[Ad Nauseam]].


2-0Bonus Scenario:I always enjoy comboing through lock pieces, and especially a [[Chalice of the Void]], so I wanted to include an additional scenario for fun. It was turn four and my opponent had two copies of [[Magus of the Moon]] and a [[Chalice of the Void]] on one. Those two can be difficult to win through, especially with four one mana cards in my hand. I was also down to nine life after being attacked several times and sacrificing fetch lands, but with that much mana and a [[Wishclaw Talisman]], I was able to go for [[Ad Nauseam]] with a chance of winning.

Thankfully, eight life was all I needed to find the resources to win the game.

Definitely rather lucky! If you would have taken a different line in my last game or any of the other games let me know what you would have done.
Unfortunately for Moon Stompy, these games didn’t play out in their favor. Moon Stompy is great at playing rather disruptive permanents and ending the game quickly. TES is also really good at winning the game quickly, and usually before Moon Stompy can assemble their disruption. Most games TES can win before or through a lock piece, like demonstrated in my example games. Not all hands allow for that though, so the sideboard removal helps in those cases. That is why I believe TES is favored. I hope you enjoyed this article, can take some of the lessons learned, and apply them to your own playtesting.